
By Les Picker
In a recent Moab blog, I discussed the issue of print head strikes that can happen with cut-sheet paper due to curled edges, and how to prevent those strikes.
If you print on roll paper, you know the advantages in terms of economy and choice of paper size. However, there is one issue that gets little attention amidst all the other technical things printmakers need to keep in mind. That issue is end-to-end paper curl.
When a roll is unused, the first few prints that emerge from the printer have very little curl in them. But, as the roll progresses to the core, the paper will curl more and more until, for the last few prints, the curl can be a problem to deal with. This curling is due to fiber memory. The paper has sat in that tightly rolled configuration for weeks or months and the fibers relax into that configuration. So, how do the pros deal with this curl?
SOLVING THE PROBLEM
It turns out the solution is really quite simple. Although rather pricey commercial anti-curl devices are available, you can make your own for less than $10 and get identical results. Here's how.
To make your own anti-curl device you will need:
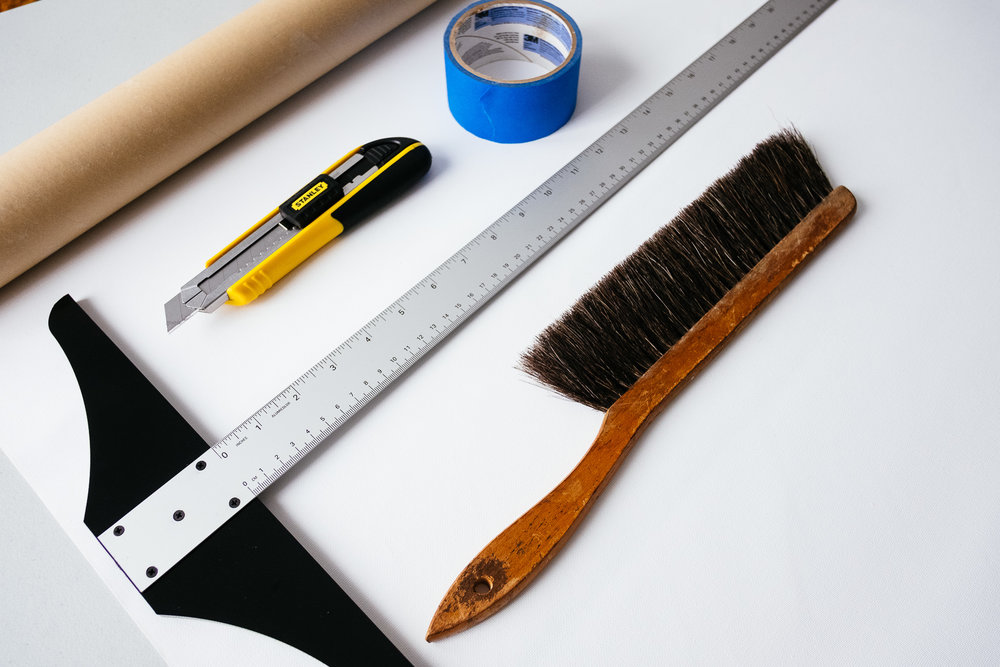
A good straight edge
A sharp cutting blade
A length of window shade material or, better yet, a length of Moab Anasazi canvas (I'll explain why)
A 2" tube from a used roll of photographic art paper (free) or a 2" length of PVC pipe (not free, but inexpensive)
Blue painter's tape, 2-3" wide
Camel's hair brush
You will need a straight edge as wide as the widest paper you intend to print on. If you have a 13" printer, then an 18" or 24" straight edge is fine. We regularly print 44" wide prints, so I used a rather long straight edge.
Make sure that you do not skimp on blades. Whenever cutting prints, canvas, backing boards, matts or anything photographic, use fresh blades for precise and smooth cuts.
You can buy plain window shade material for the anti-curl device at any Home Depot or many hardware stores. We prefer to use Moab's Anasazi canvas because of its softness, pliability and ease of cleaning. We prefer not to have anything rough touch our prints. In terms of fabric, the length should be at least six inches longer than the longest prints you think you will do. Think panoramas!
The tubing or piping should be the same length as your fabric. The key thing here is to make sure that the tubing is rigid.
Finally, a word about the tape. We recommend blue painter's because it is readily available, inexpensive and soft. Whatever you do, do not use duct tape. It is far too sticky and no matter what one does, that sticky stuff somehow ends up on prints.
HOW TO ASSEMBLE
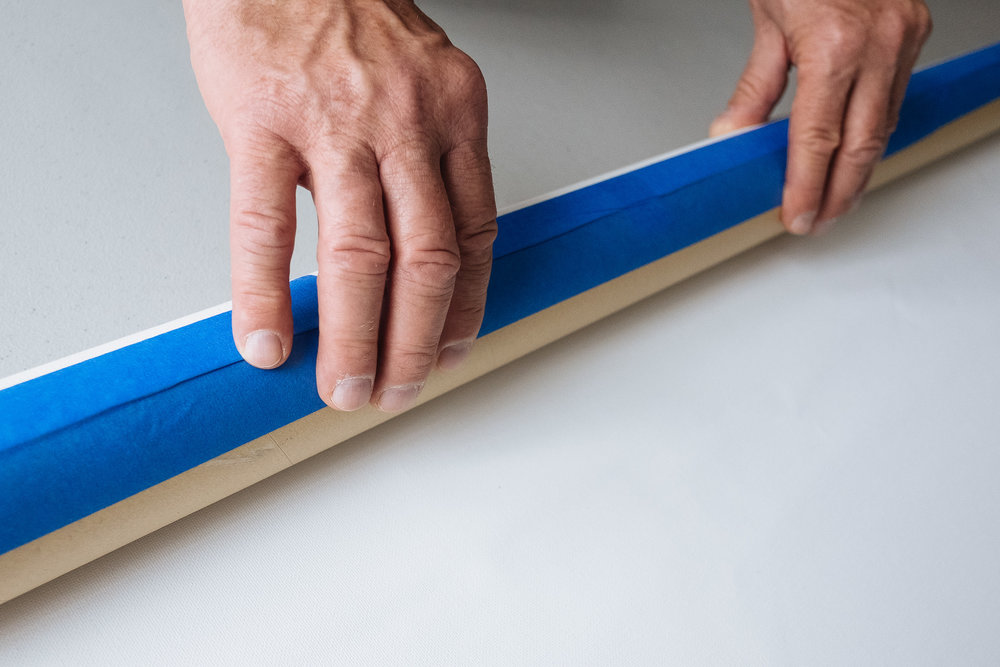
Once you measure and cut your fabric, butt the edge up to the tubing, making sure that the edge of the fabric is exactly parallel to the tubing. Have someone assist you and while one holds the fabric against the tube, the other lays down a continuous strip of tape along the seam. Allow at least three inches to overhang each end and then tuck that three inch segment into the tube on each side. That creates a more secure bond and prevents any exposed adhesive from the tape from contaminating your prints.
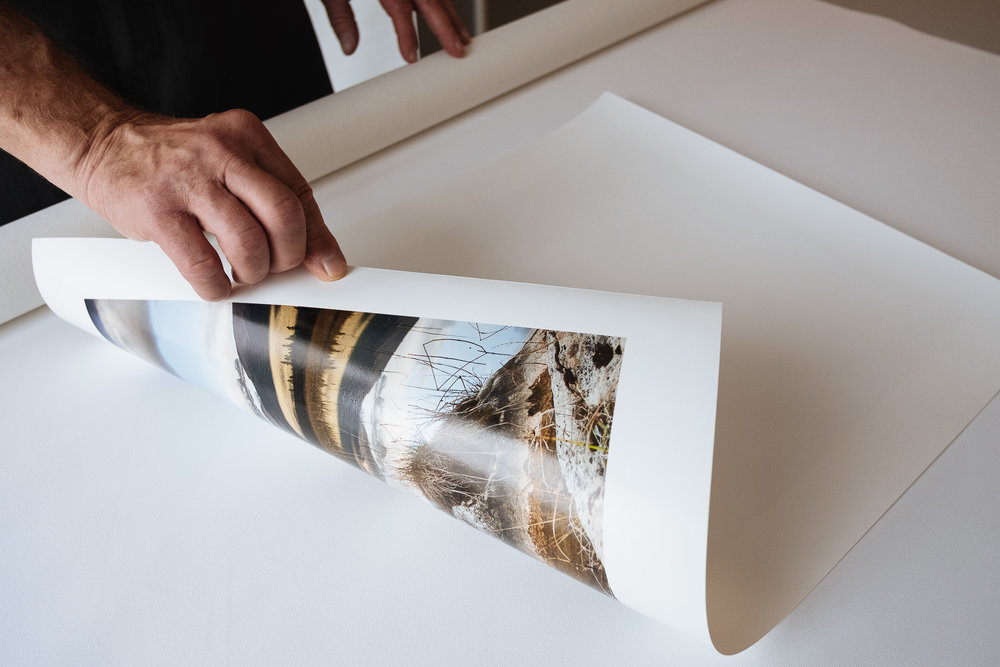
HOW TO USE
Before you begin the anti-curl process, brush off the fabric and the print with a camel's hair brush. Since you will be rolling this tightly, you do not want dirt particles embedded in your print.
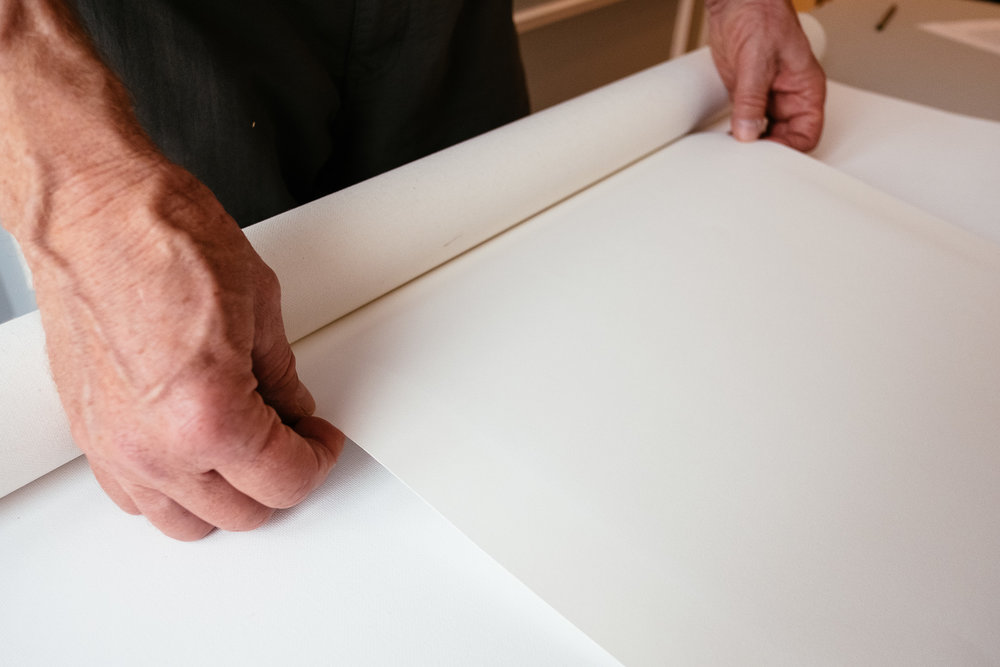
Prints can curl face up or face down. If your print comes off the end of a roll of paper, it will be curled face up, with the curled edges behind the image. If, for example, you have rolled the print to send it in a tube and it has stayed that way for a while, it will be curled face down, meaning the cirled edges will be in front of the image. Determine which way your print curls and place it in the roller accordingly.
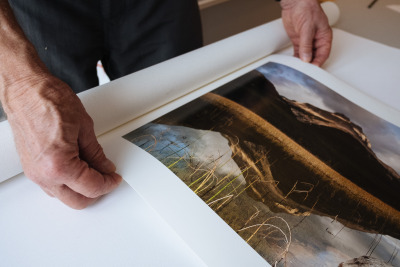


If the print is not quite flat when you unroll it, repeat the process, but first rotate the print 180 degrees. Leave again for 15-60 seconds and in 90% of cases that will do it. You will be ready to adhere the print to a backing or mount it in whatever way you want.
SOME TIPS
Once you are done with the reverse curling, place your anti-curl device into a plastic sleeve and clamp it shut to prevent exposure to dust and dirt.
In some cases of extreme curl you may want to rotate the print 90 degrees and then roll it once briefly as a final measure. In that case only leave it for 15 seconds before checking.
Use your reverse curled print as soon as possible after this process. Sometimes if that print is left on a table for days some curl will return. In that case, of course, just use your device again, but this time leave it rolled for a shorter period.
Use cotton gloves when working with your final prints.
You may have to reverse curl the print prior before spraying it with Moab Desert Varnish, simply because an extreme curl would compromise good side-to-side spray technique. But, if you have a choice, we suggest reverse curling after spraying as added protection for your print (look for a future article and video on proper spray technique).
If you are interested in seeing a video of me demonstrating the anti-curl process, click here.